The Inkadinkado Stamping Gear sets are expensive. I was able to snag two full deluxe sets at Joann Fabrics recently for $4.50 apiece. They were on clearance for $6.97 and then I was also able to use a 25% off coupon on top of the clearance prices. For those of you who are not quite as fortunate as I was on that particular shopping trip, consider Amazon or ebay for a reasonably priced set. I think the sets start at around $50. I bought the circle/oval and the square/rectangle sets, which look like this:
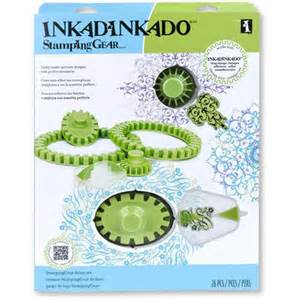
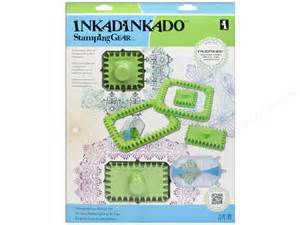
(I took these pictures off bing images because my packaging is already completely destroyed to get to the stamping gear!!)
So this is the “gear” I am working with, and I also bought additional stamps on amazon and ebay to go with the gears. So now I am going to show you how to use it!
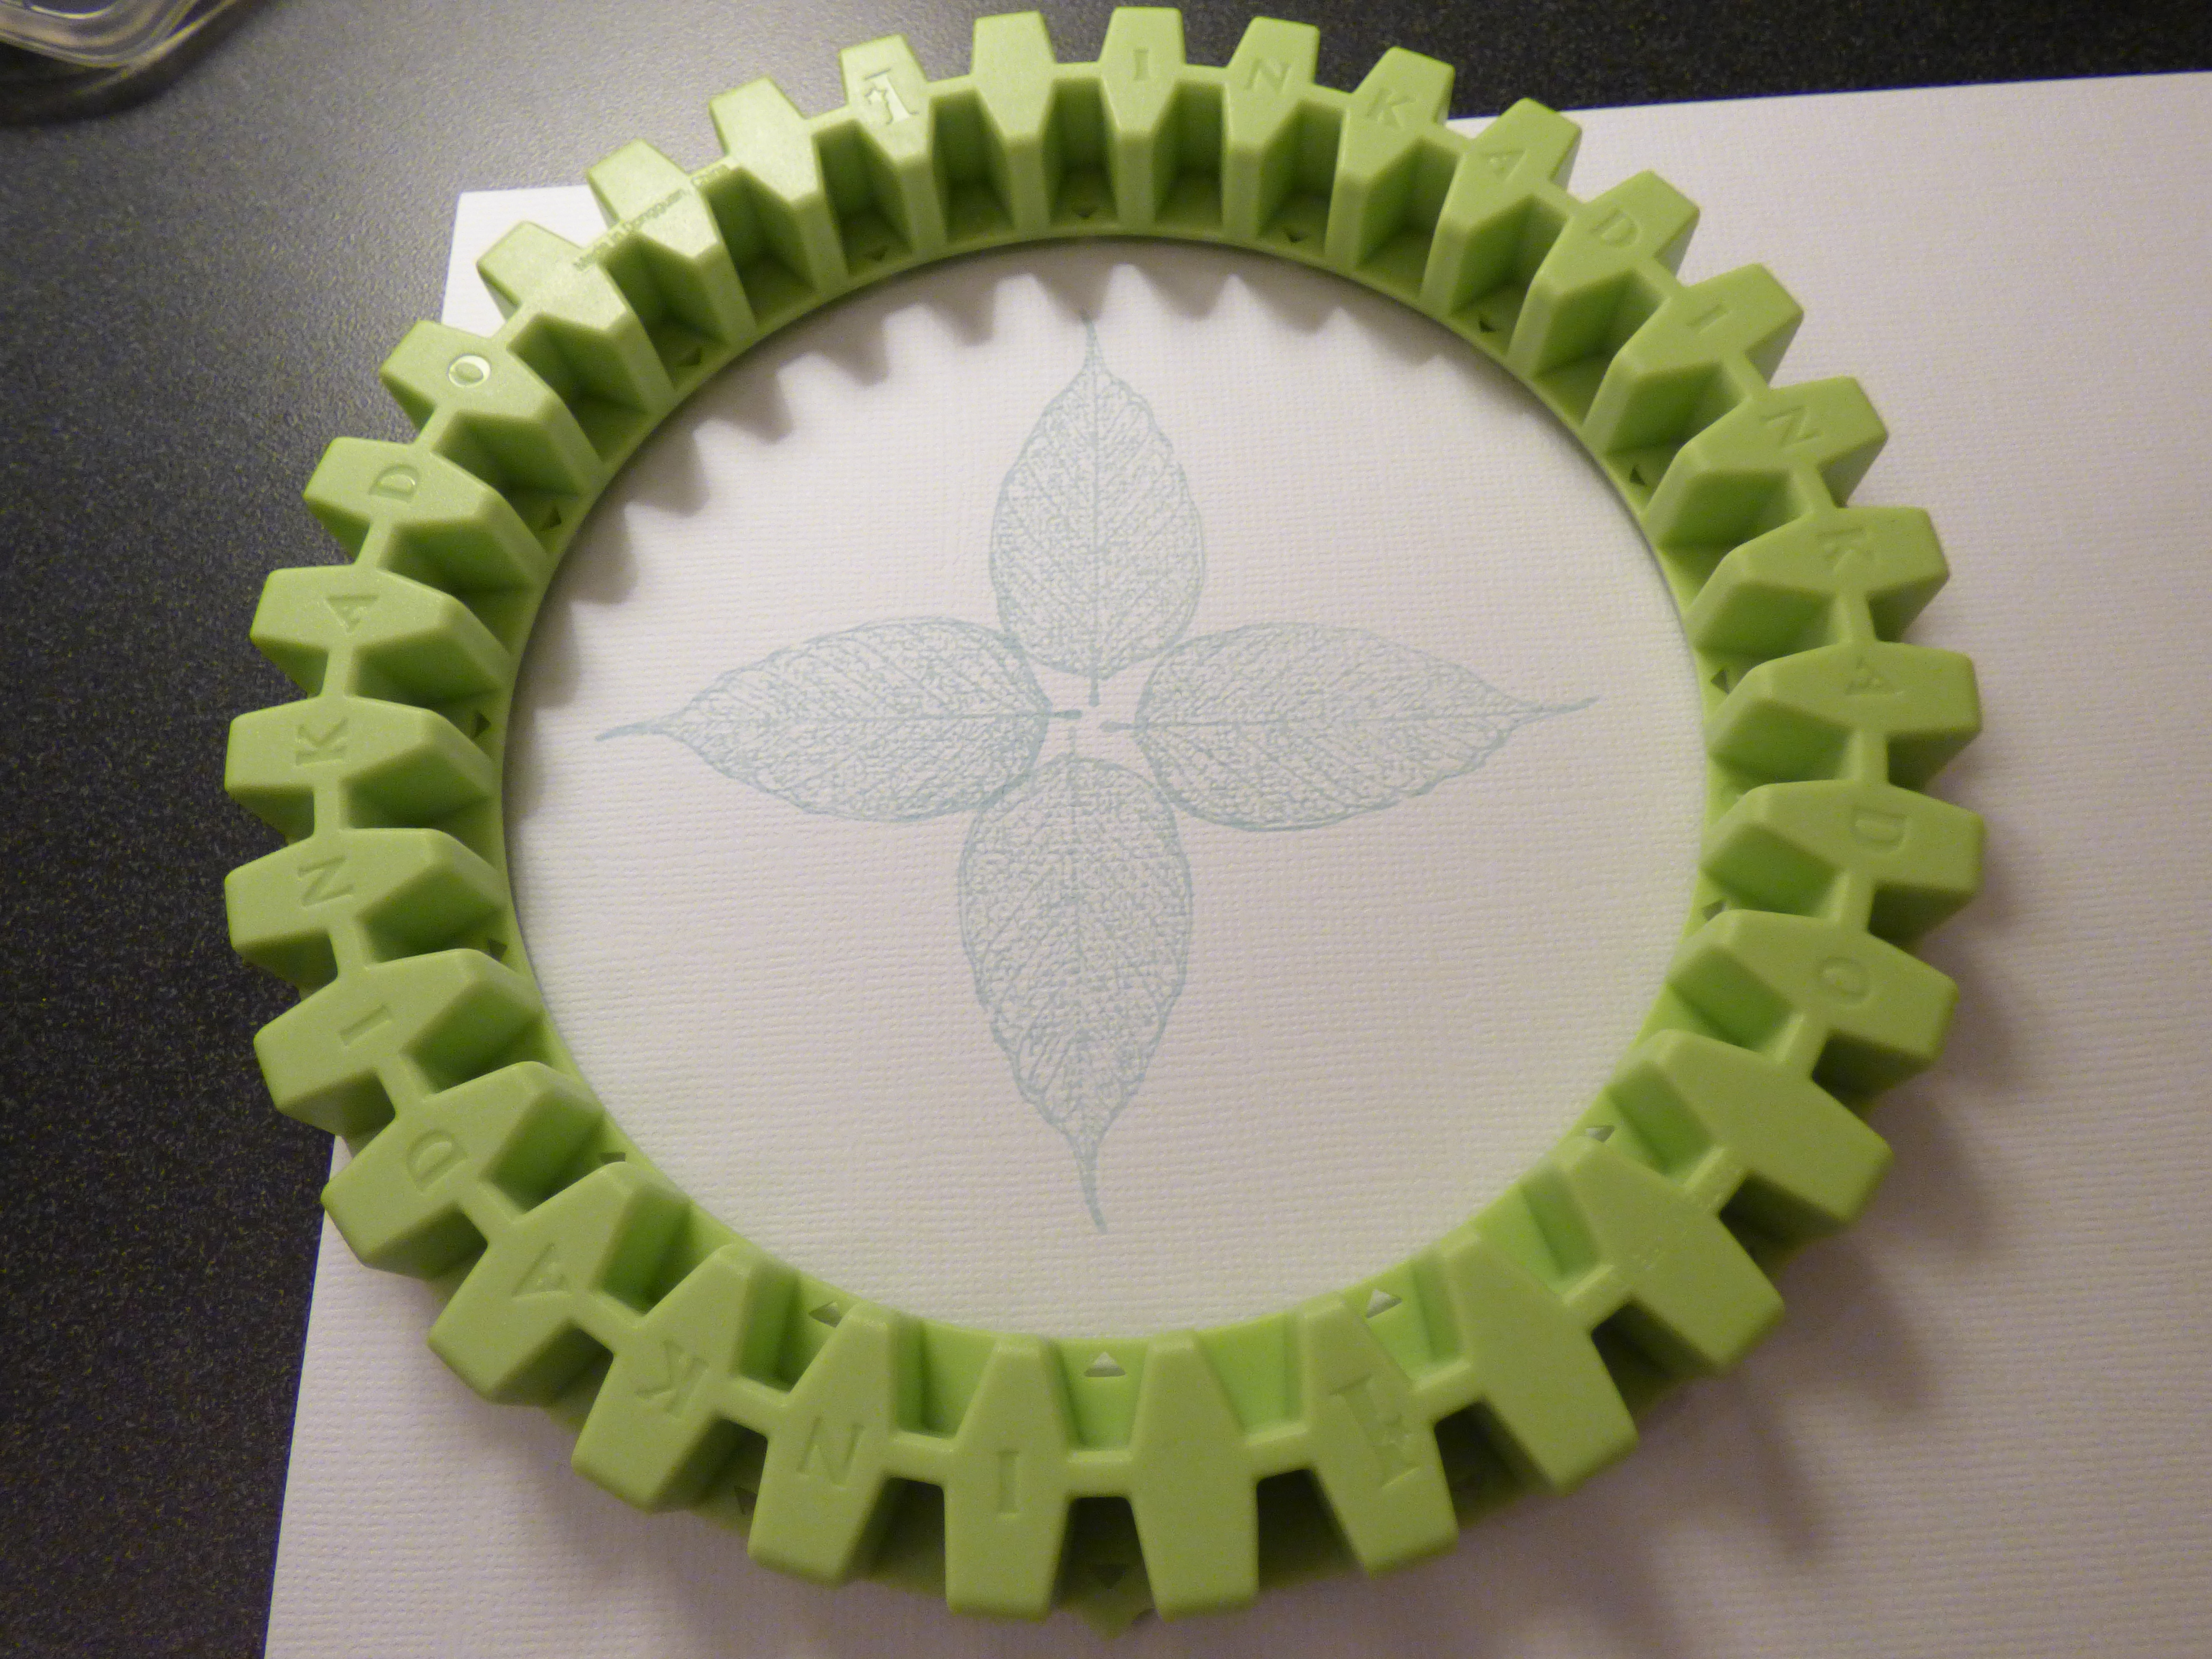
I am using a plain white piece of textured cardstock, but you can use almost any paper for this. I am also using the colorbox fluid chalk ink petal ink pad. This is a really great ink to use for this, because it is relatively fast drying, doesn’t smudge, but it also does a little bit of blending. So I have my large round stamping gear ring, and the paddle with a leaf stamp adhered to it (the leaf did not come with the stamping gear deluxe set, I bought it separately)

The first thing I did was to get the leaf in the correct position on the paddle. I took just a scrap paper and stamped the leaf on opposite sides of the wheel to get it lined up where I want it. I wanted the leaves to be close together, but not overlapping when I stamp four of them. I started with the lightest blue color ink. So all you have to do is hold you stamping gear circle in place the whole time and get your paddle in the correct notches and make clean stamping images.
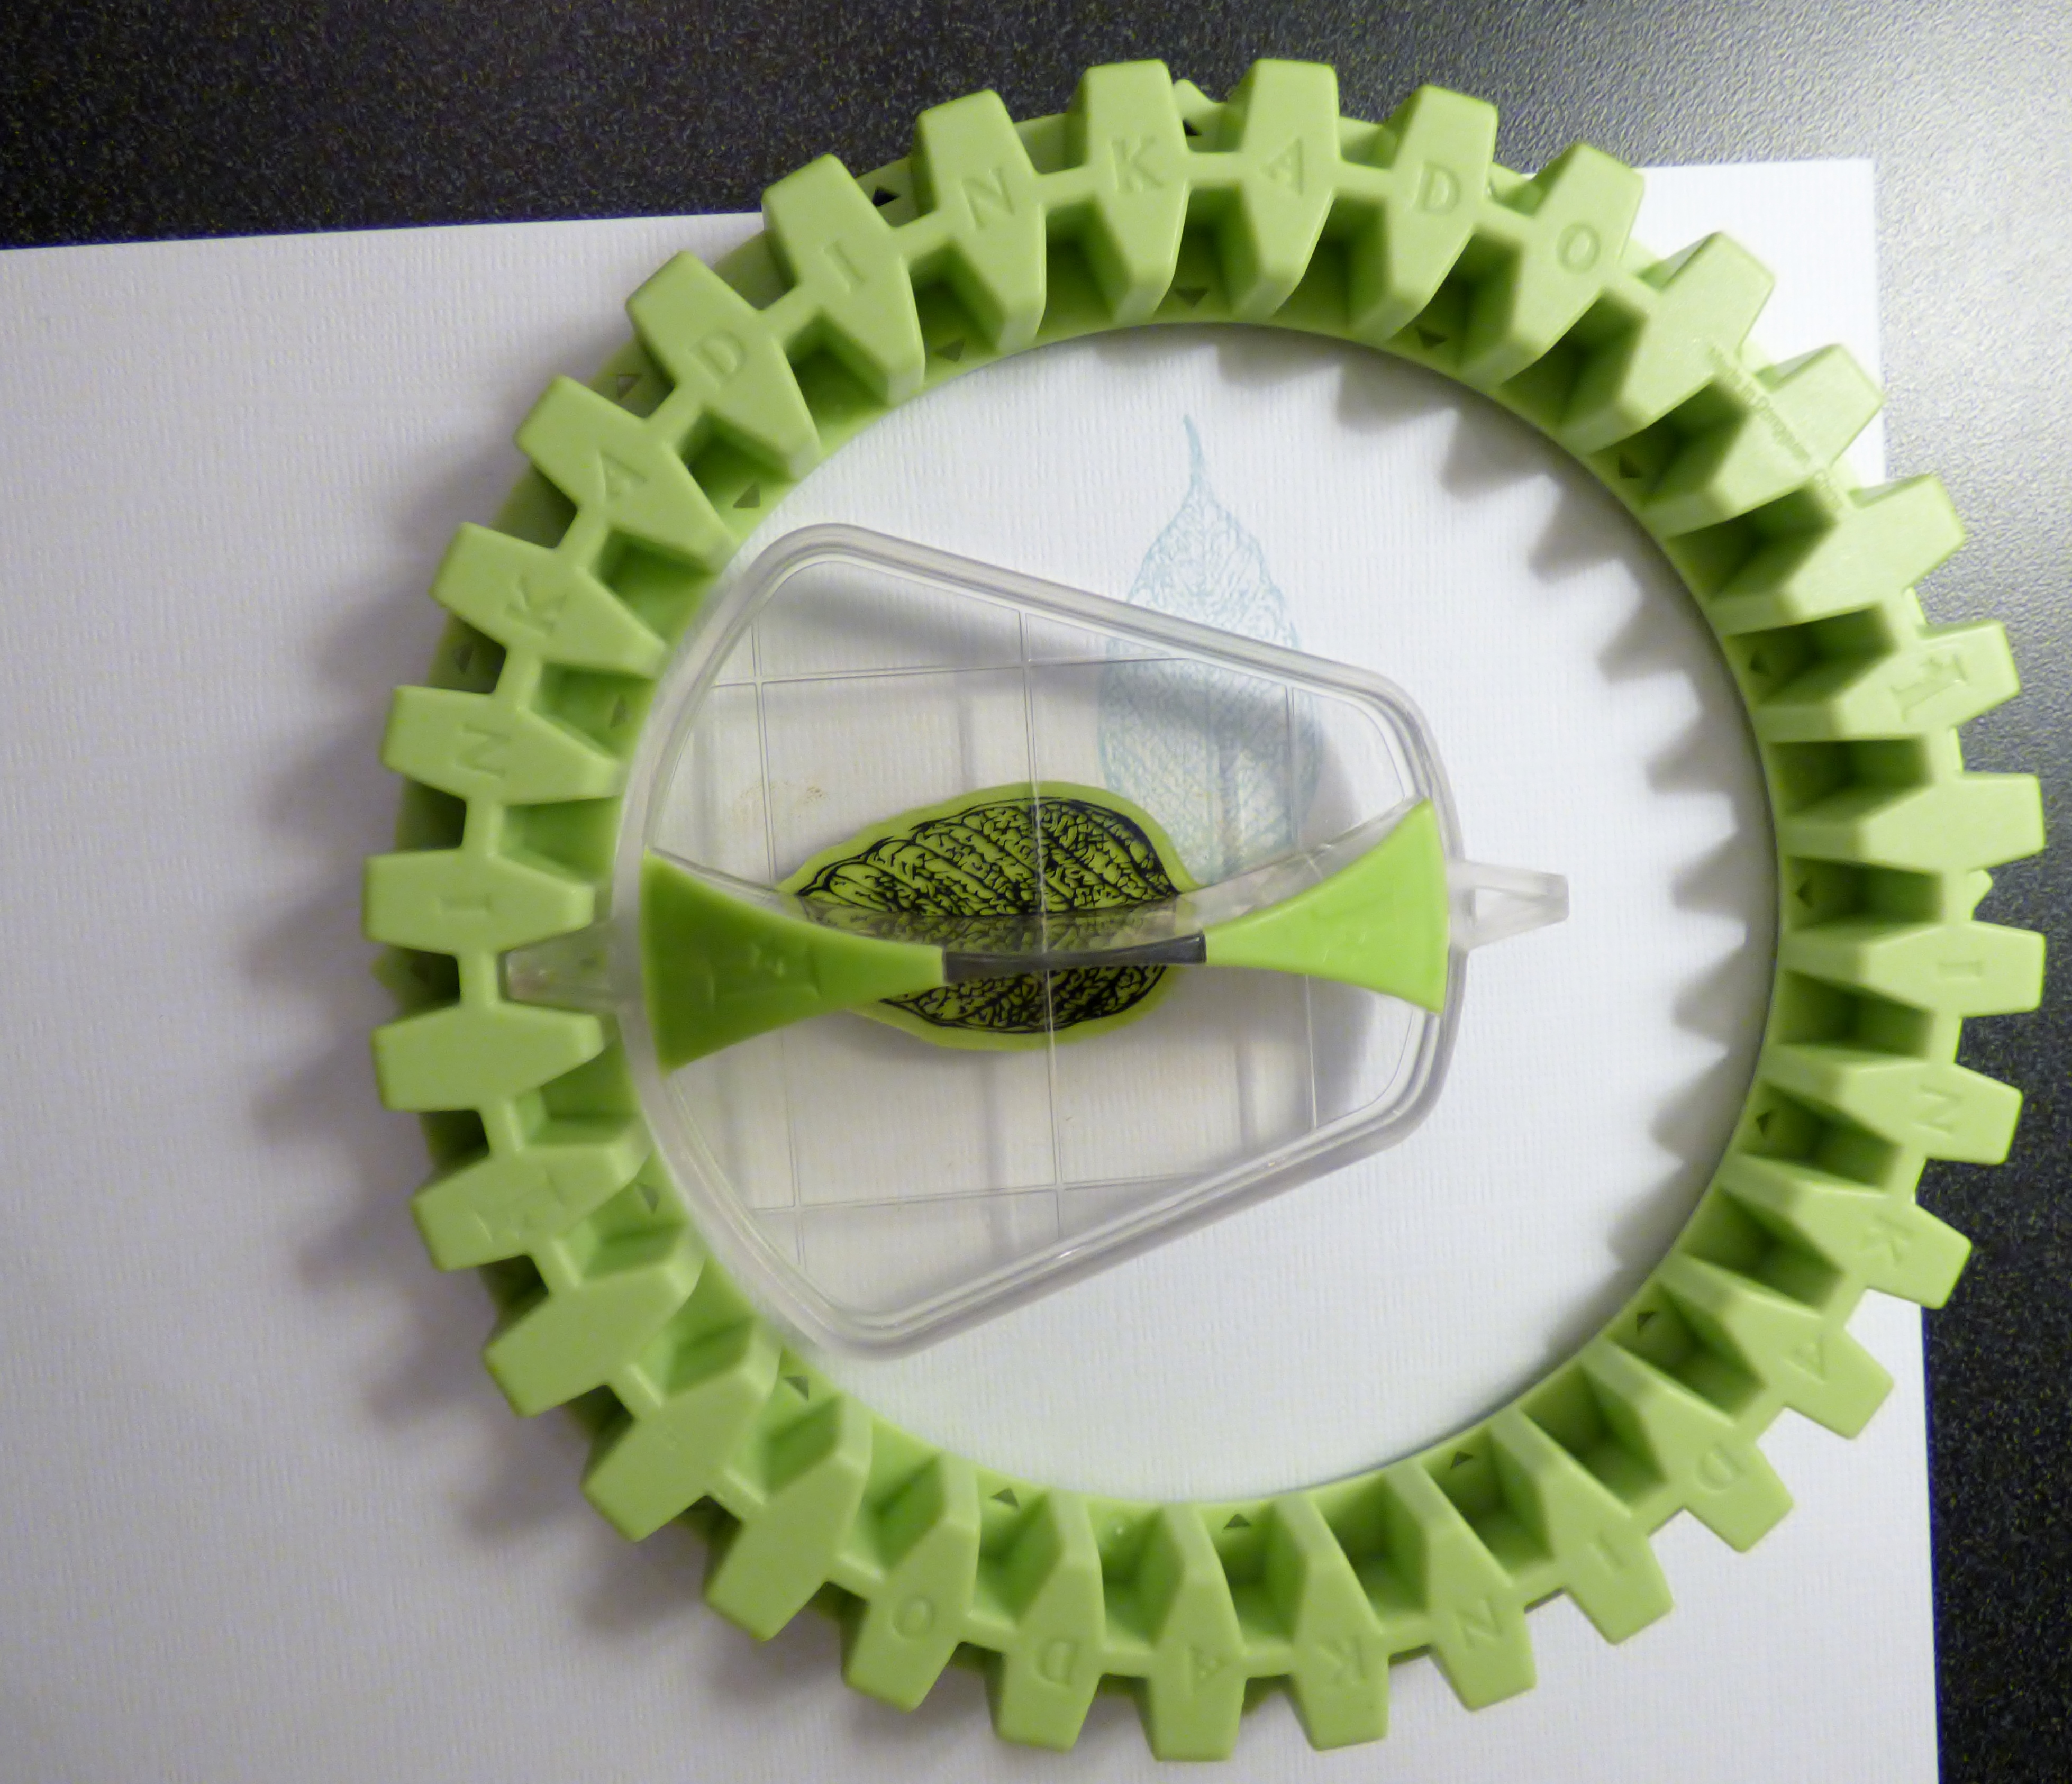
It is a little bit difficult to see, but I am going to stamp this light blue leaf in the four “corners” of the wheel. There are four notches with arrows on them on the outside of the circle that help me get the paddle in the correct notch. On the inside of the wheel, there are arrows in every other notch to help me know where to position the paddle. Align the paddle with the wheel and stamp firmly but steadily.

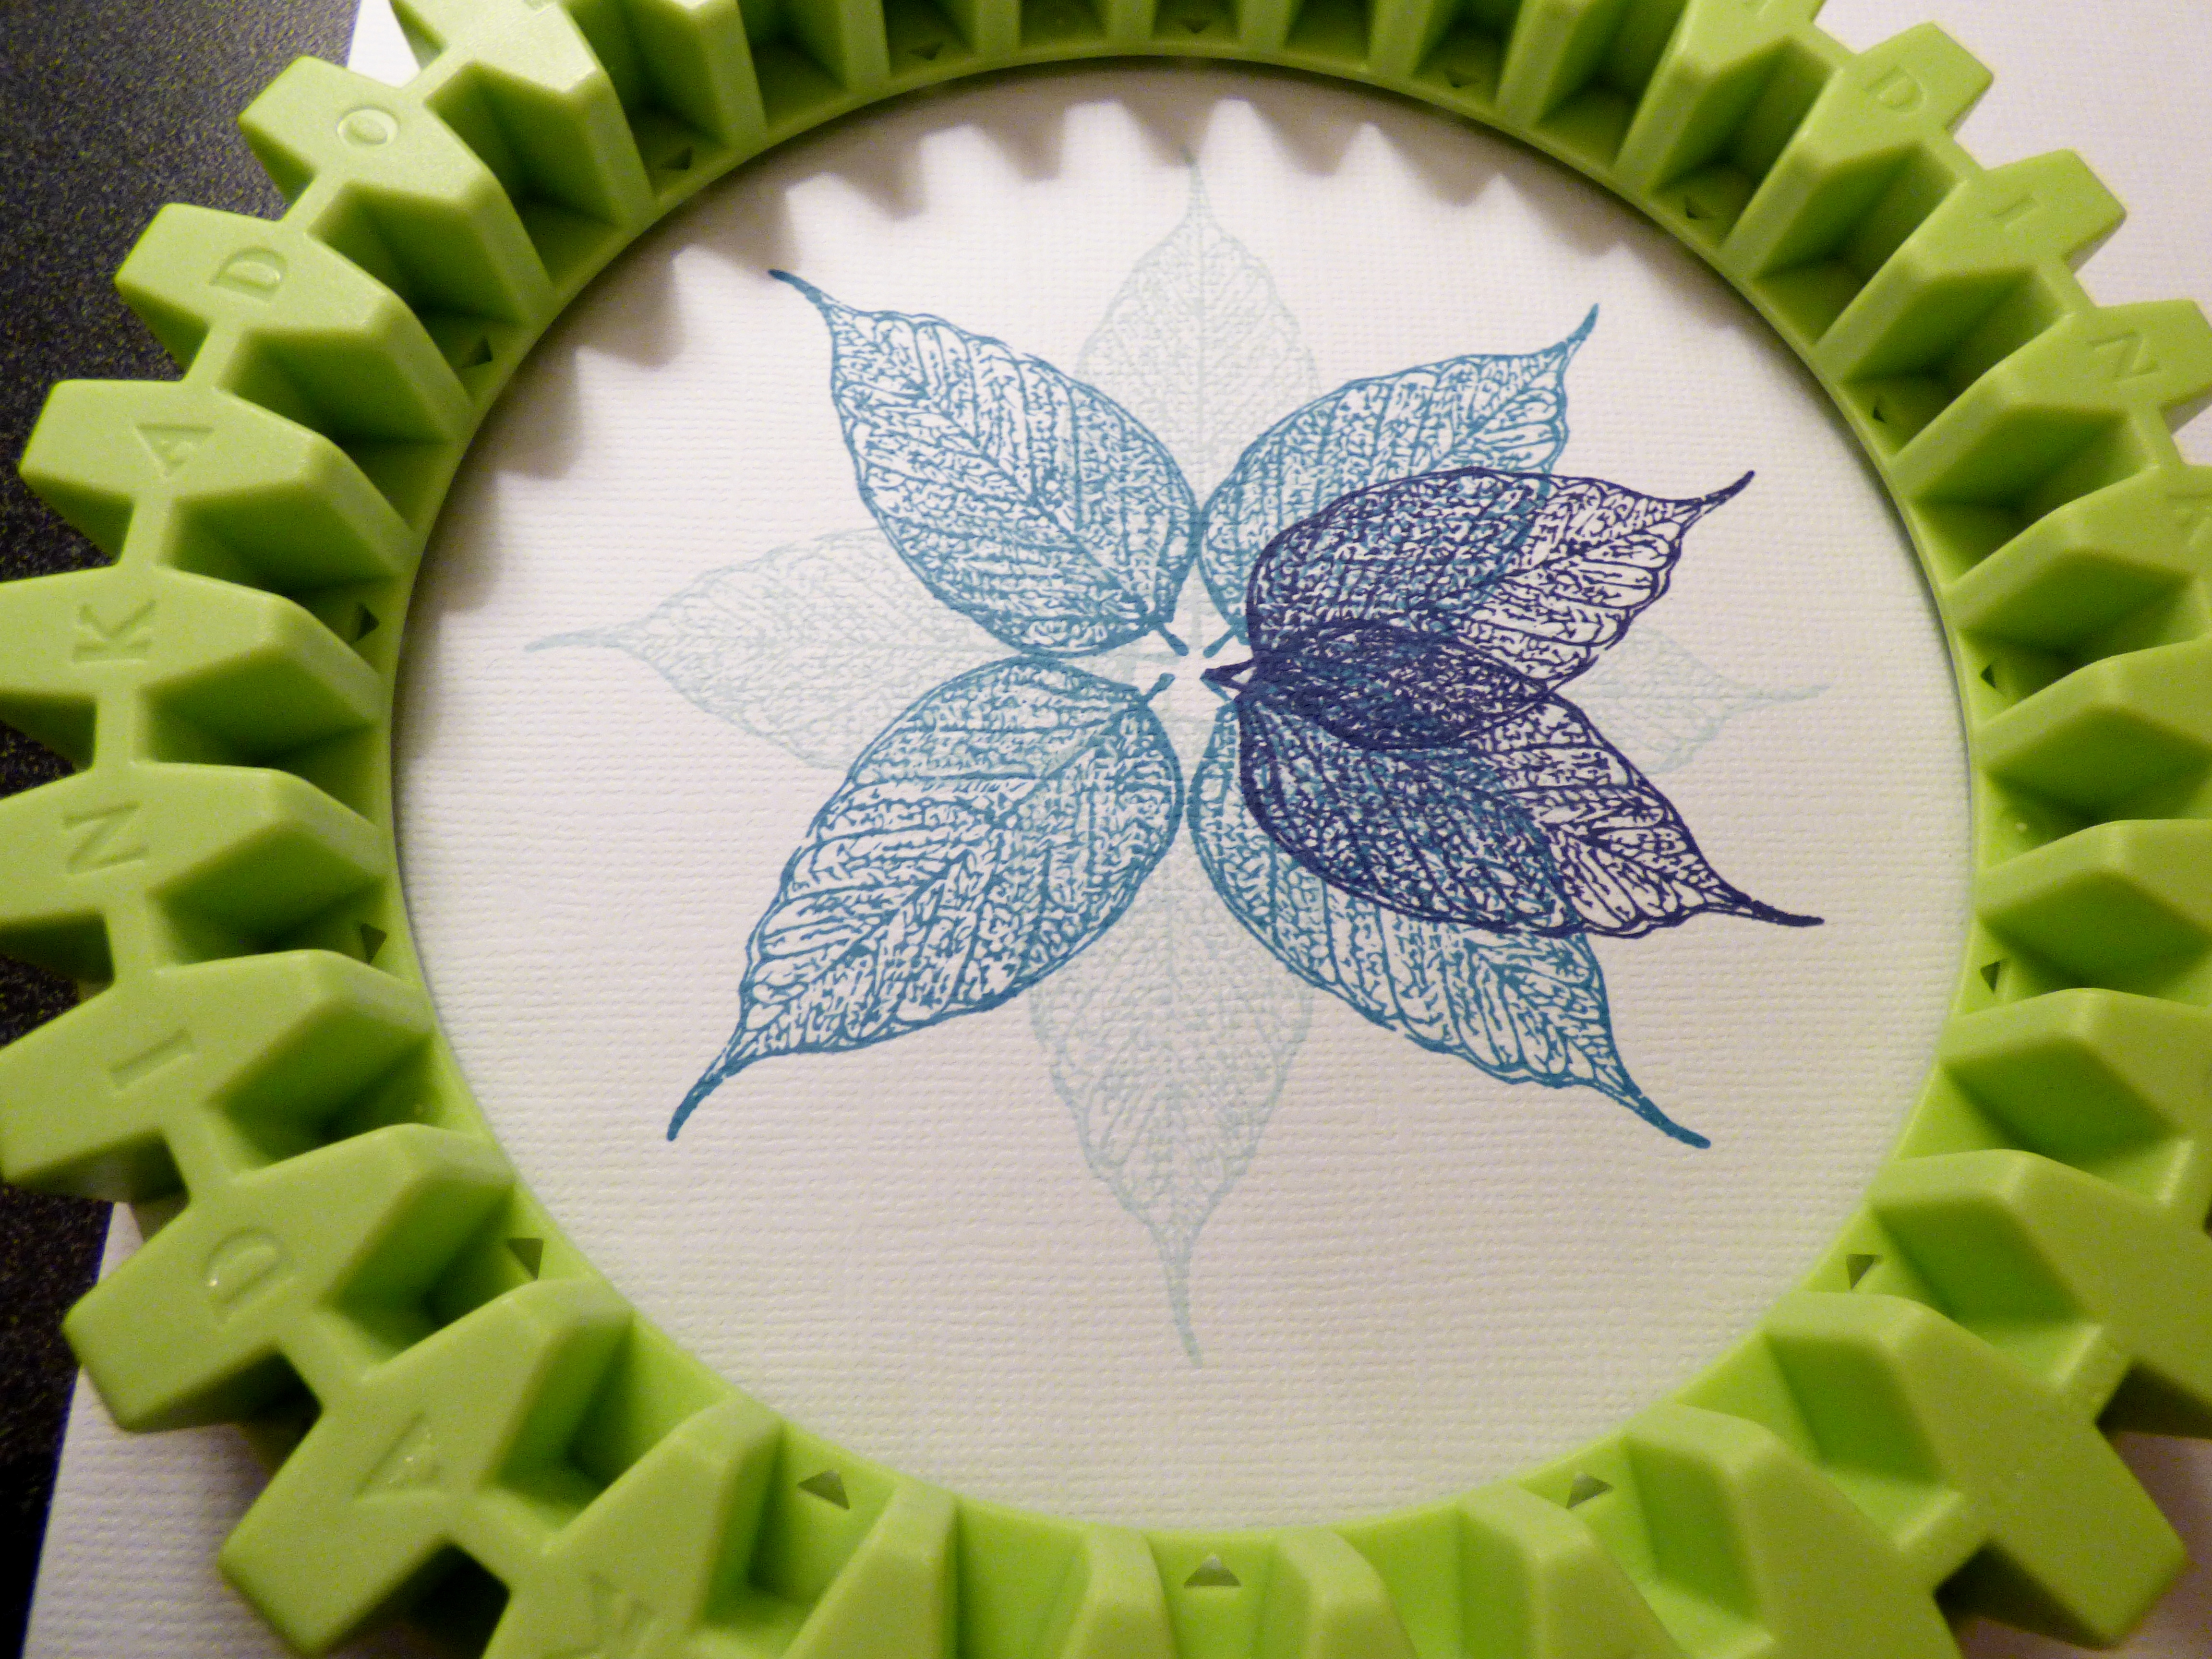
Here you can see the four light blue leaves and how they are spaced. Next we are going to do the same thing, with different notches and our medium blue ink. We want the medium blue colored leaves to fall right inbetween the light blue leaves. The most important thing to remember is to never reposition the stamping wheel and also do not remove the leaf from the paddle unti the design is completely finished.

Now for the dark blue inked leaves. There will be eight total stamped leaves in dark blue. We are going to place them between the leaves we have so far.

Now once the dark leaves are stamped all the way around, your stamped art is finished!
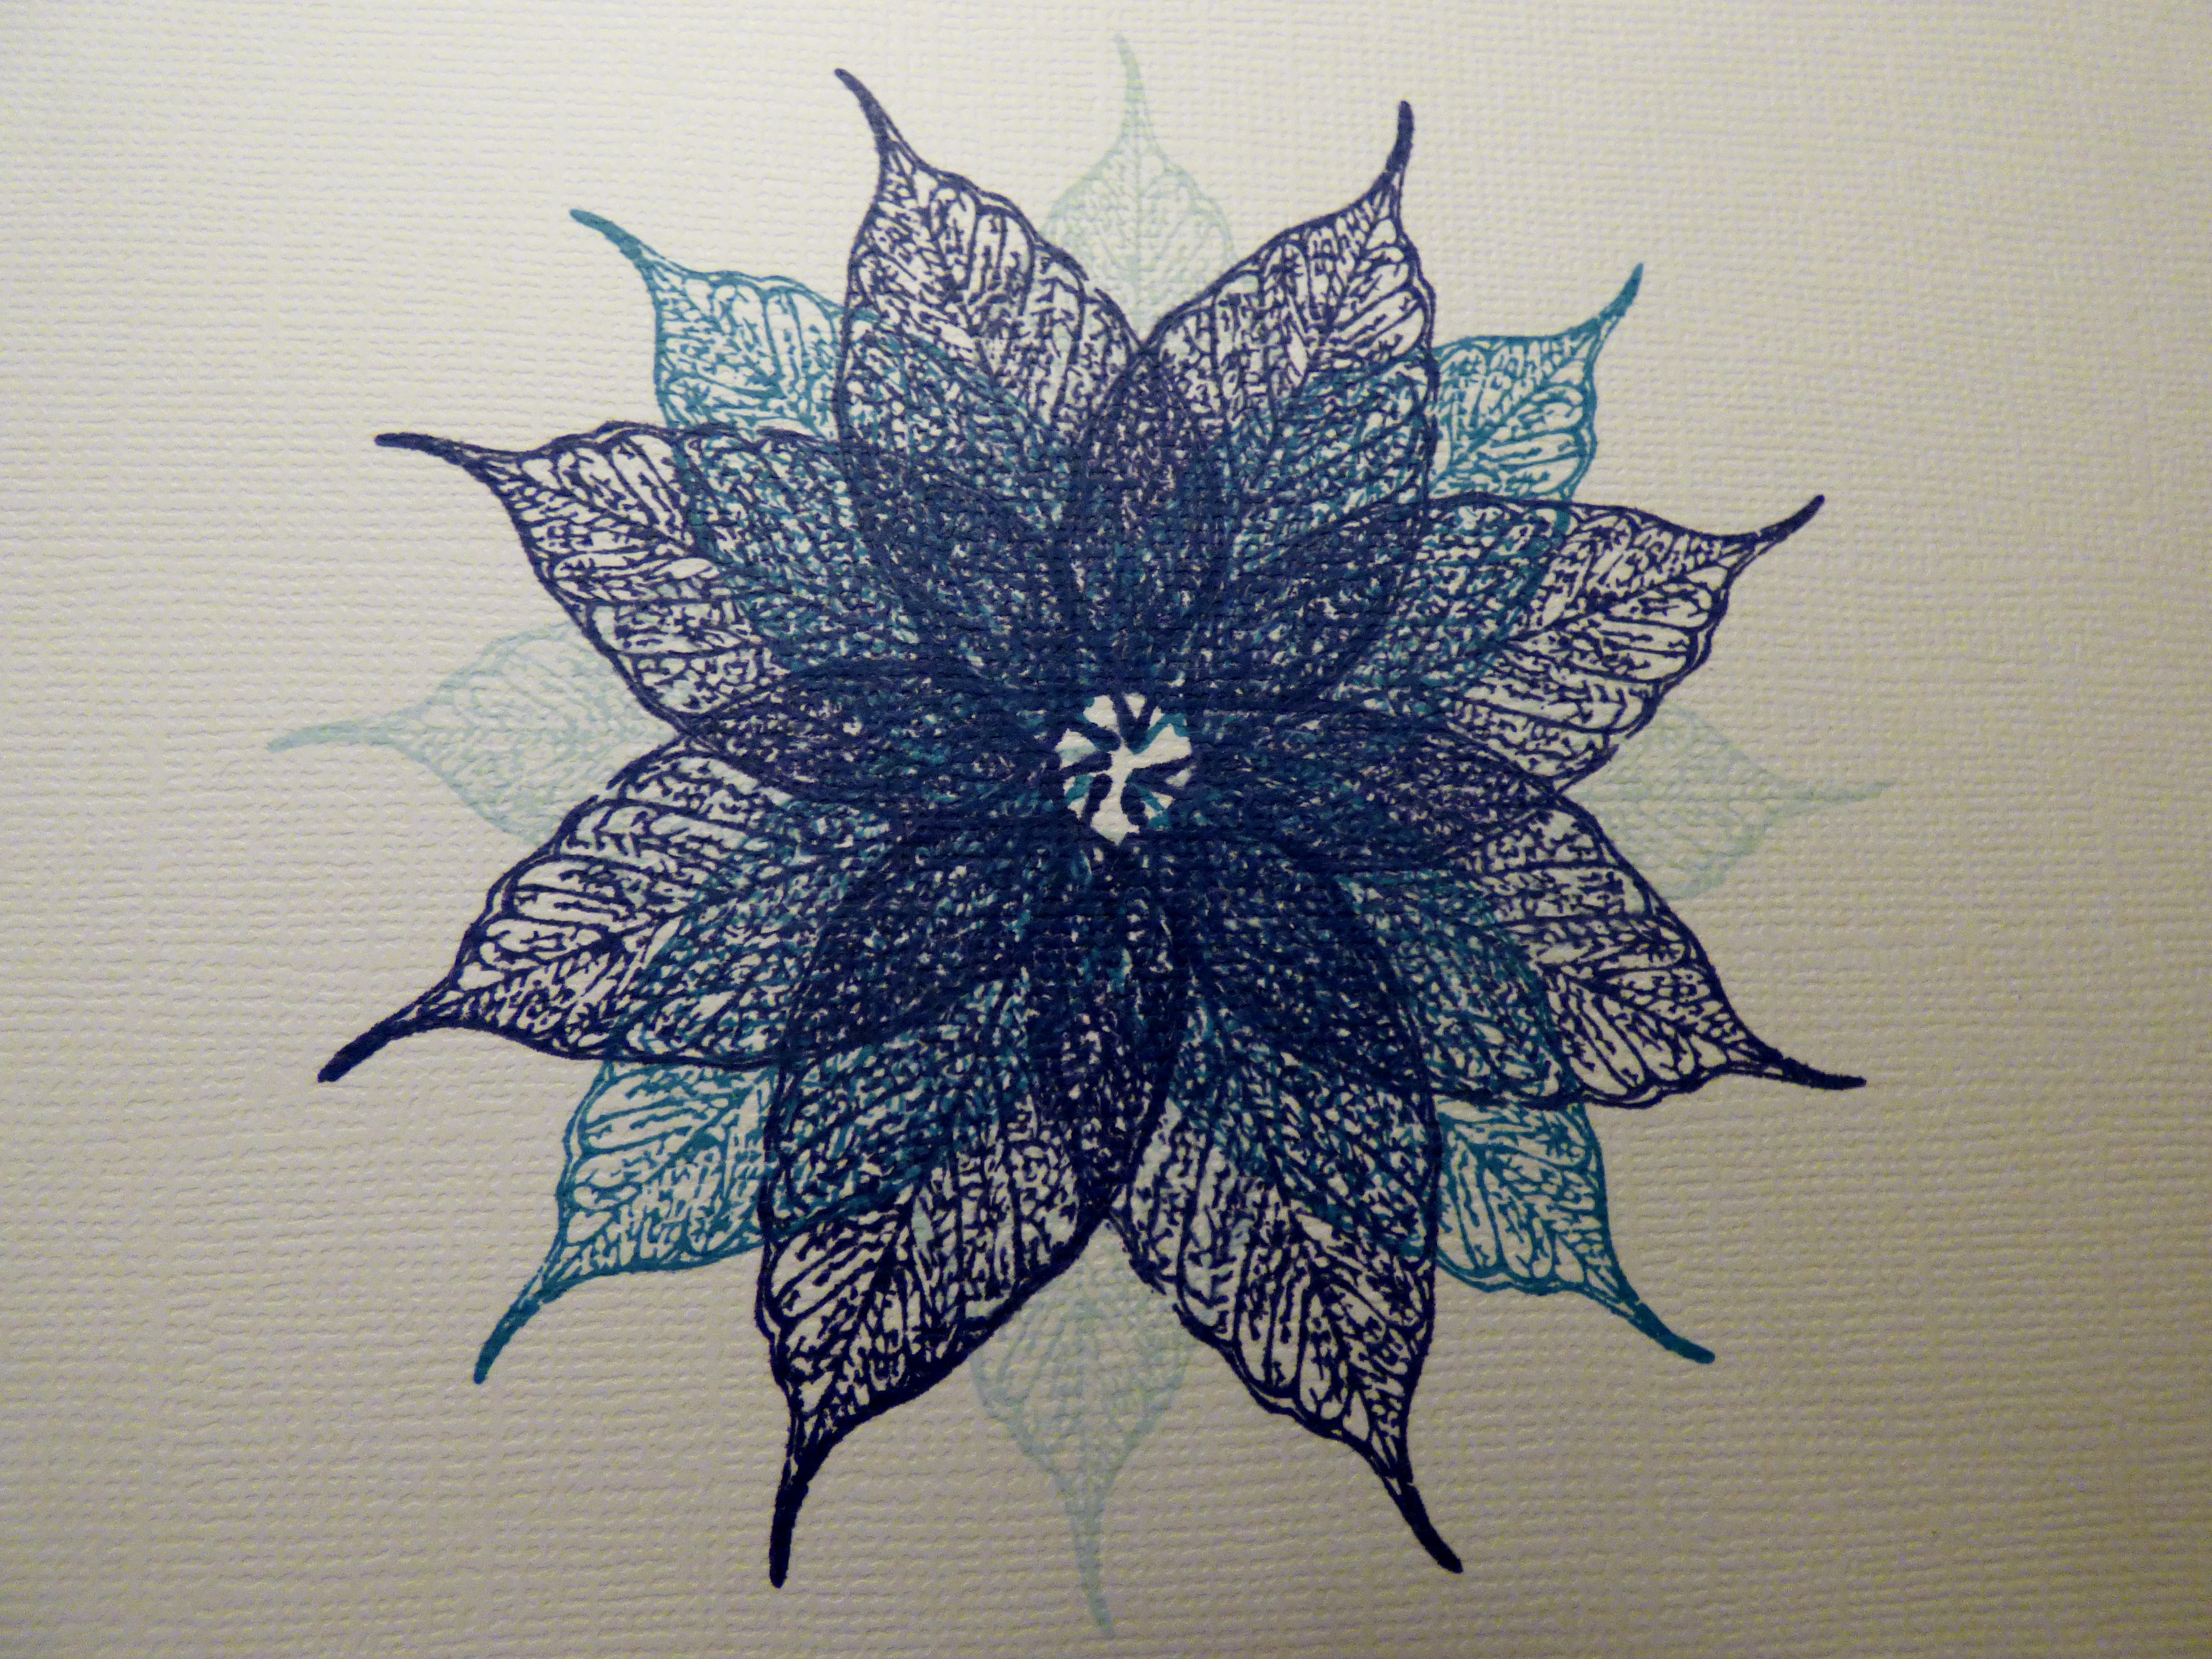


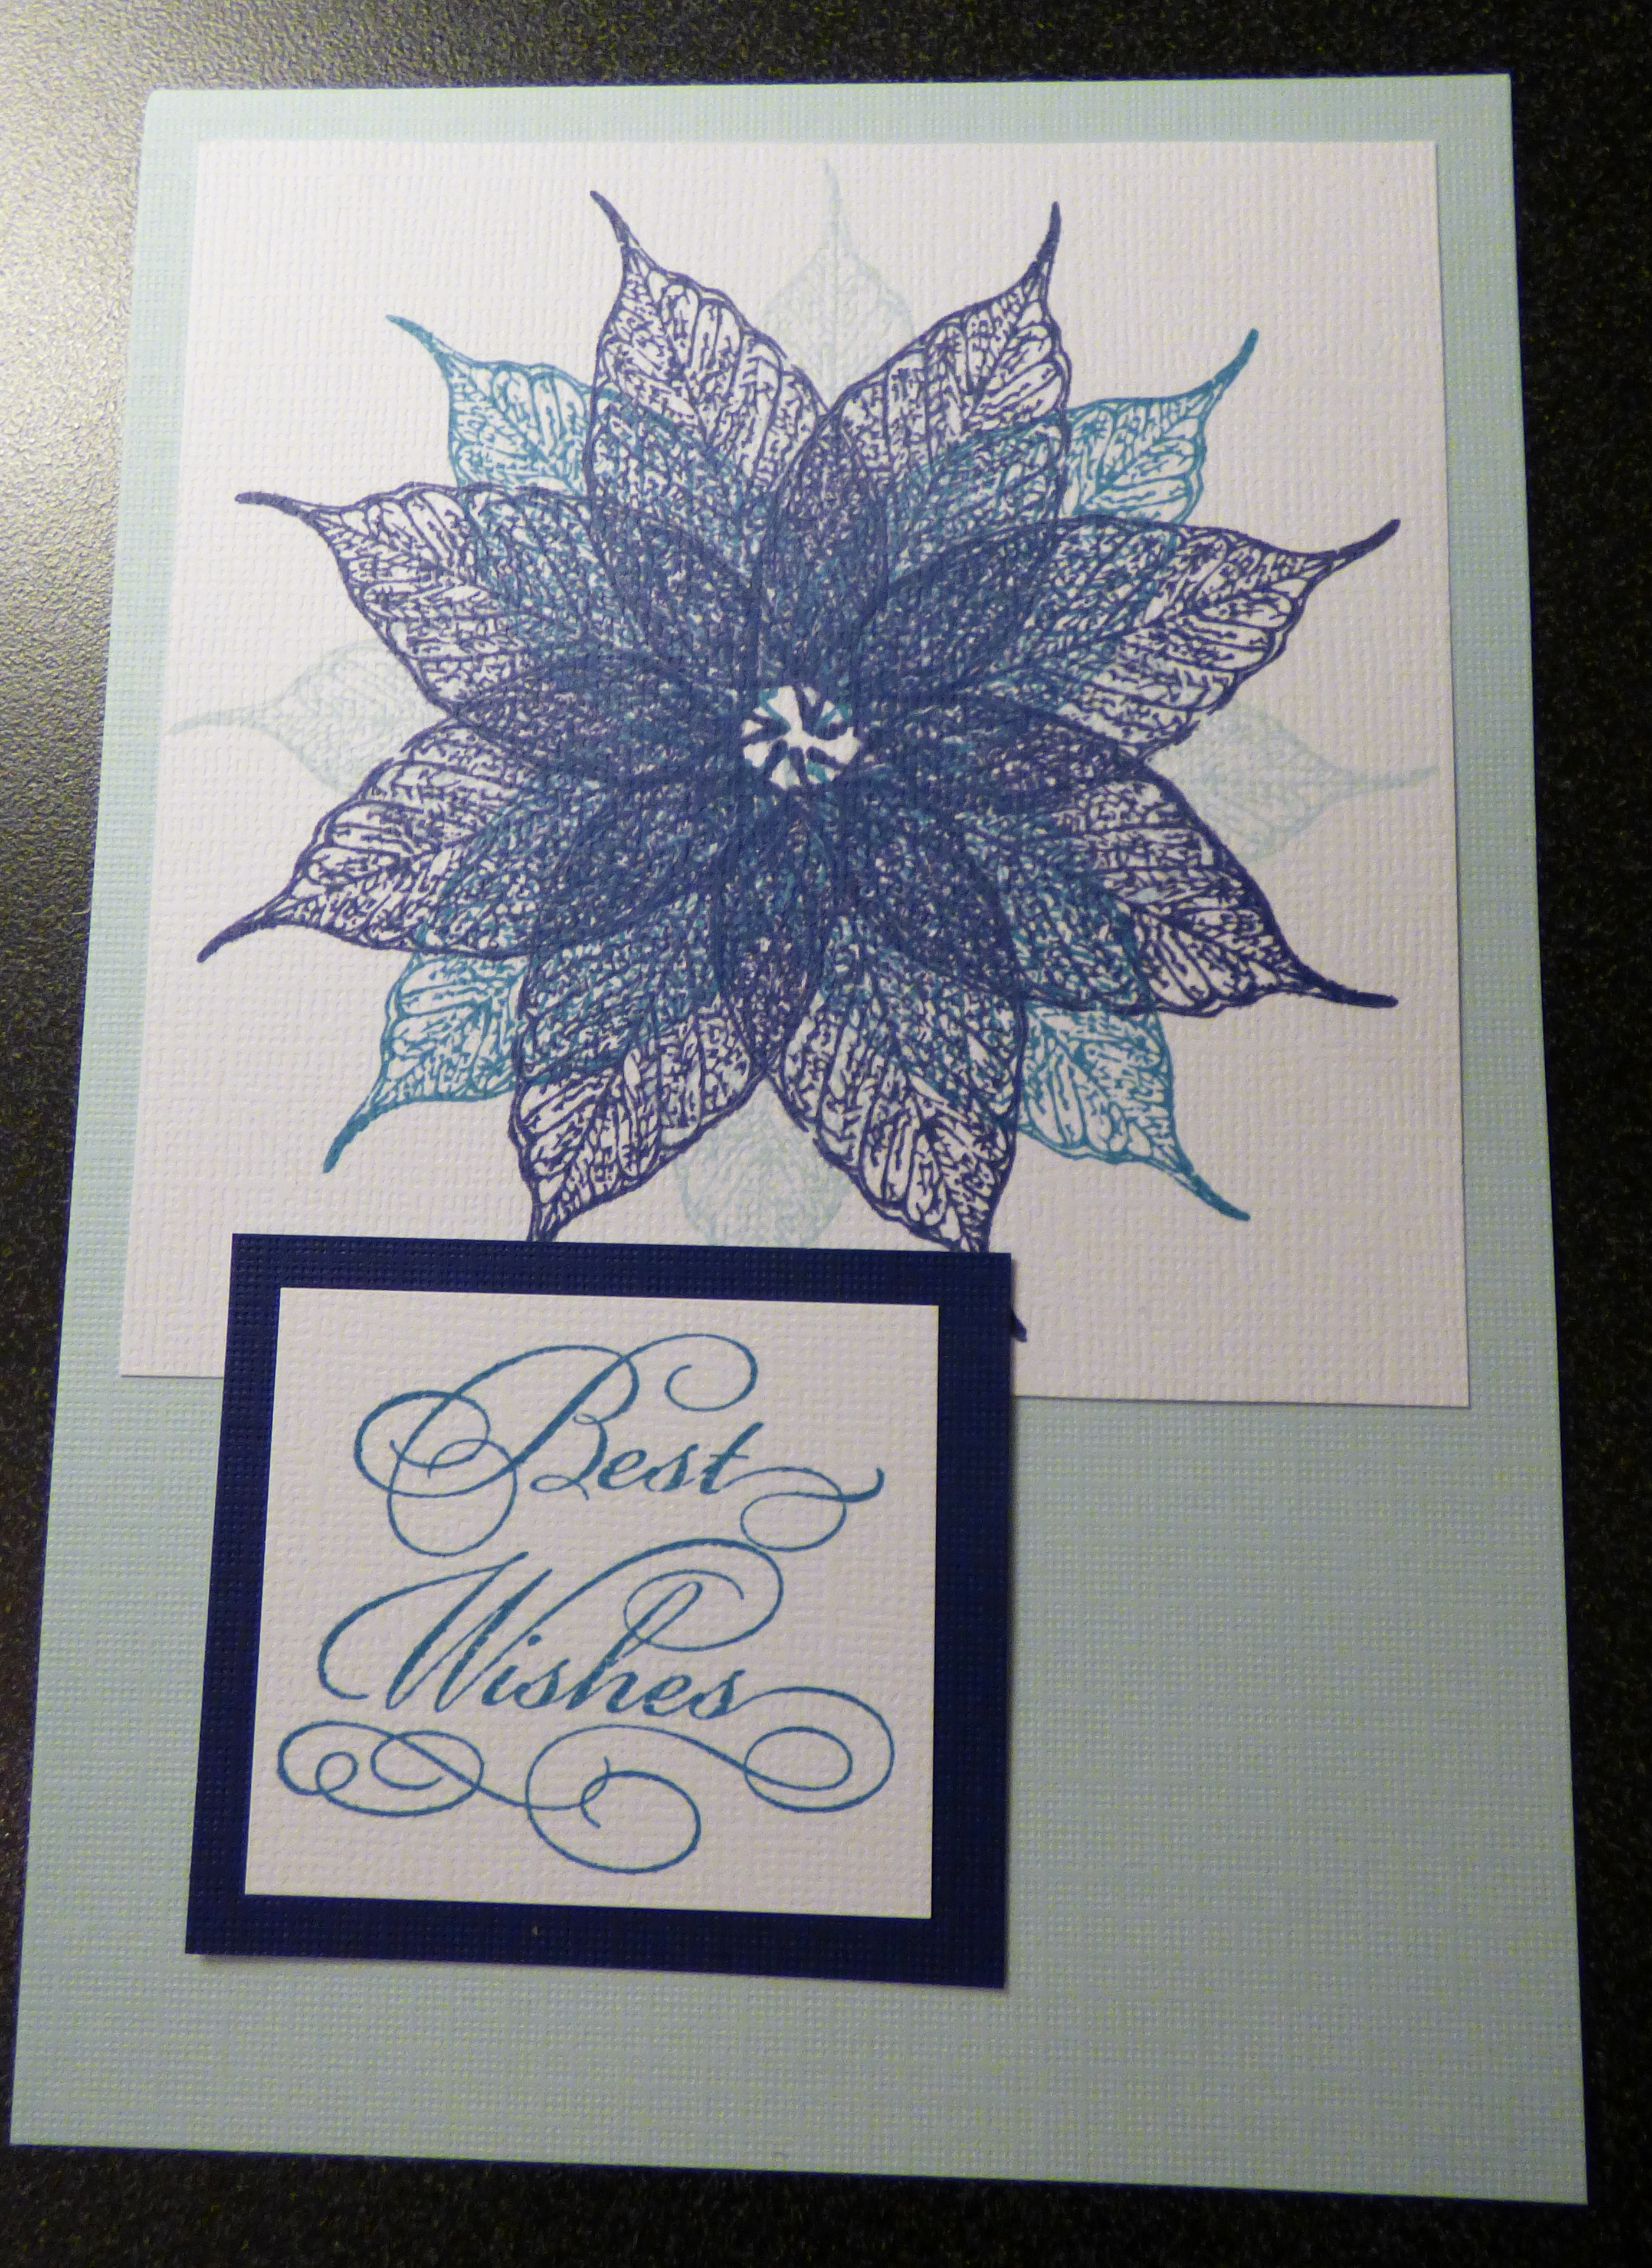
And here is an example of what you can do with an image like this: